The Art and Science of Crafting Keyboards: A Guide to Creating Your Own Personalized Typing Experience
- Umang Sharma
- Feb 26, 2024
- 3 min read
Keyboards are ubiquitous tools that connect us to the digital world, allowing us to express thoughts, ideas, and commands with the tap of a key. While most of us use commercially available keyboards, there's a growing community of enthusiasts who find joy in creating their own custom keyboards. In this blog post, we'll explore the fascinating world of keyboard creation, discussing what keyboards are, the components that make them up, and a step-by-step guide on how to create your own personalized typing experience.
Understanding Keyboards: Keyboards, in their simplest form, are input devices that enable users to interact with computers and other devices by pressing keys. These keys are arranged in a specific layout, usually the QWERTY layout, and can vary in design and functionality. A typical keyboard consists of alphanumeric keys, function keys, modifier keys (such as Shift, Ctrl, and Alt), and additional keys for specific functions like navigation and media control.
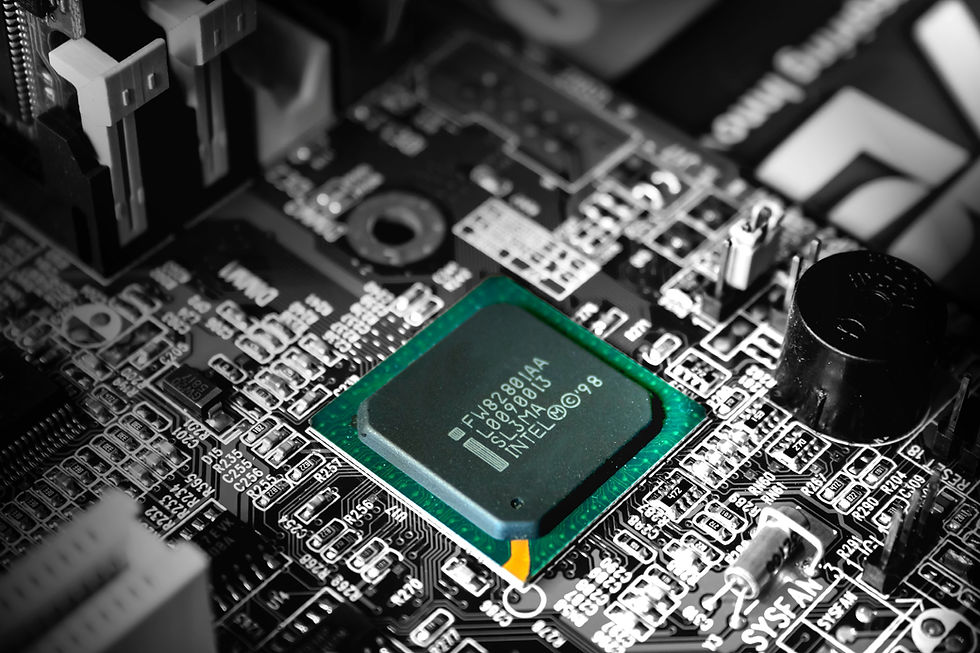
To create your own keyboard, it's essential to understand the basic components that make up these devices:
Key Switches: Key switches are the heart of a keyboard. They determine how a key responds when pressed. Mechanical switches are popular among keyboard enthusiasts for their tactile feedback and durability. Common switch brands include Cherry MX, Gateron, and Kailh.
PCB (Printed Circuit Board): The PCB is the main circuit that connects all the components of the keyboard. It houses the key switches, controller, and other electronic components.
Controller: The controller interprets the signals from the key switches and sends them to the computer. Arduino or microcontrollers like the Teensy are commonly used for this purpose.
Keycaps: Keycaps are the visible, tactile part of the keyboard. They come in various shapes, sizes, and materials. Custom keycap sets allow for a personalized aesthetic.
Case: The case houses all the internal components, providing structural support and protection. Cases come in diverse materials like plastic, aluminum, and wood.
Plate: The plate is a metal or plastic sheet that holds the key switches in place. It contributes to the keyboard's feel and sound.
Step-by-Step Guide to Creating Your Own Keyboard:
Define Your Purpose: Decide the type of keyboard you want – a compact 60%, a full-sized board, or a split ergonomic design. Consider your typing habits and preferences.
Choose Key Switches: Select key switches based on your desired typing experience. Mechanical switches come in various types – linear, tactile, and clicky.
Select a PCB and Controller: Choose a PCB that matches your layout and a compatible controller. Research and choose components that are well-documented and supported.
Pick a Case and Plate: Select a case and plate that complement your design preferences. Consider materials, colors, and form factors.
Customize Keycaps: Choose keycaps that match your style and layout. Many artisanal keycap sets are available for a unique touch.
Assemble Your Keyboard: Follow the provided instructions for assembling your keyboard. Solder the switches to the PCB, attach the controller, and secure everything in the case.
Flash Firmware: Program the controller with firmware to ensure your keyboard functions correctly. Many open-source firmware options are available.
Test and Troubleshoot: Test each key to ensure they register correctly. Troubleshoot any issues with the help of online communities and resources.
Creating your own keyboard is a rewarding journey that combines technical knowledge with personal expression. Whether you're a coding enthusiast, a writer, or a gamer, a custom keyboard can enhance your typing experience and reflect your unique style. Dive into the vibrant world of keyboard customization and unleash your creativity on the keys!


Comments